If you’re using Google Analytics on your website you will no doubt be aware that the old Universal Analytics product is being removed in July 2023 and replaced with Google Analytics 4. Thus you need to ensure that you are running the Google Analytics 4 tracking tag on your WordPress site before that date. In this article we show you how to update from UA to GA4 on your website.
- Video demo of generating the tracking tag
- Log into your Google Analytics account
- Set up a Google Analytics 4 property
- Set up a Google Tag
- Install the new GA4 tag on your website
- Using the Site Kit plugin to add the GA4 code to your site
- Configuring up your GA property within Google Analytics
- Next steps – how we can help you
Video demo of generating the tracking tag
Watch the video below for instructions on how to generate a GA4 tracking tag. There are also written instructions with screenshots below. If you’re using WordPress you can then jump down to the instructions below on how to add the tag to your website using Google’s Site Kit plugin.
Log into your Google Analytics account
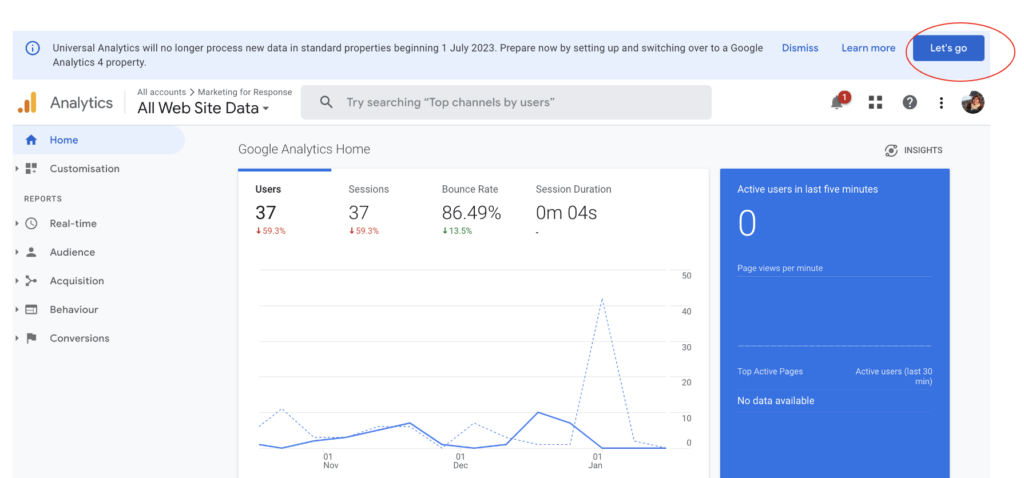
When you log into your Google Analytics account you will see a message telling you if you need to upgrade to GA4. Click on the “Let’s go” button to kick off the upgrade process.
Set up a Google Analytics 4 property
You have the option to create a new GA4 property or connect an existing GA4 property. If you do not already have a GA4 property set up for your website then you need to select option one. Your existing Universal Analytics tag will remain unchanged and will still track traffic on your website until July.
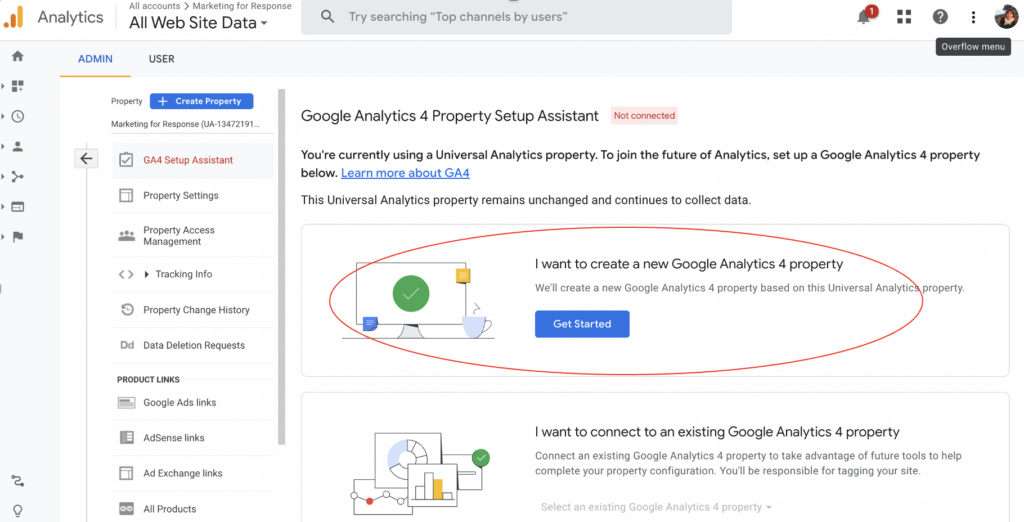
When you click on ‘Get Started’ you will then need to confirm that you want Google to set up a new GA4 property for you. Click ‘create and continue’ when you see the message in the screenshot below.
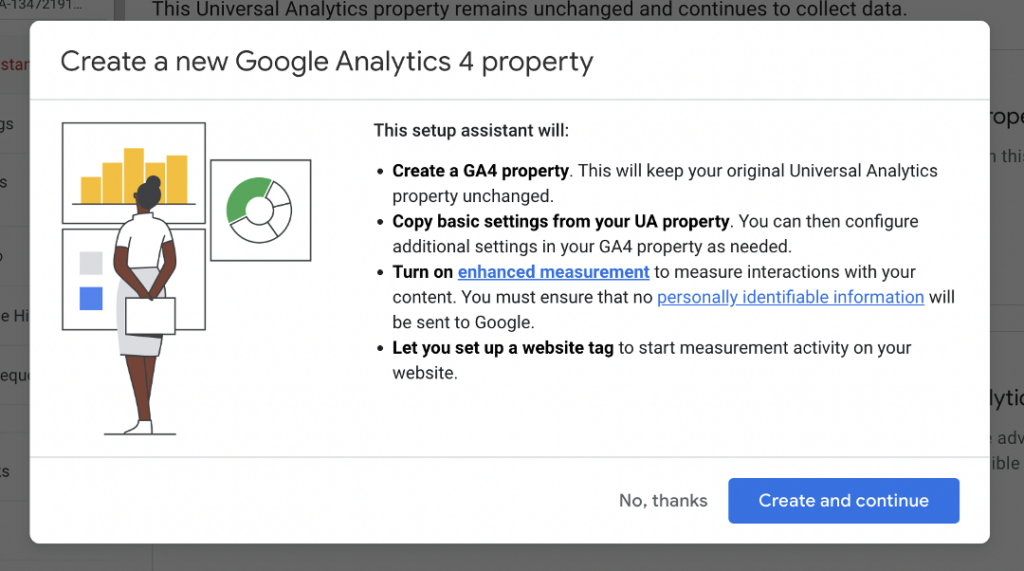
This kicks off the process of setting up your GA4 tag. The GA4 set up assistant will:-
- Create a GA4 property for you whilst keeping your UA settings the same
- Copy basic settings from your UA property – you can then configure additional settings in your GA4 property as needed
- Turn on enhanced measurement which enables you to more effectively measure how site visitors engage with your website content
- Set up a website tag for you to install on your website which enables you to start measuring your website activity in GA4
Set up a Google Tag
The Google Tag is a piece of code that sits on all the pages of your website that you want Google to be able to track. If you are already using Google Analytics and have a Universal Analytics tag active on your website then you have the option of using that existing tag as the basis of your GA4 set up. Alternatively you can create a new GA4 tag from scratch.
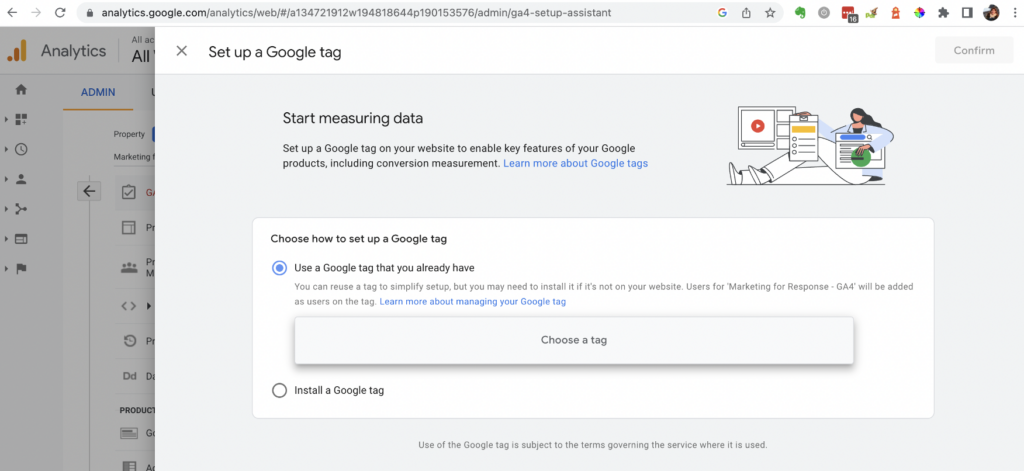
If you already have a UA tag running then select “Use a Google Tag that you already have” and select the correct tag from the list (if you have more than one possible tag). It may also be that Google does this step for you and automatically creates the new GA4 tag using the UA tag that you already have (if you only have one possible tag that you could use). Once you have done this you should see something like the screenshot below.
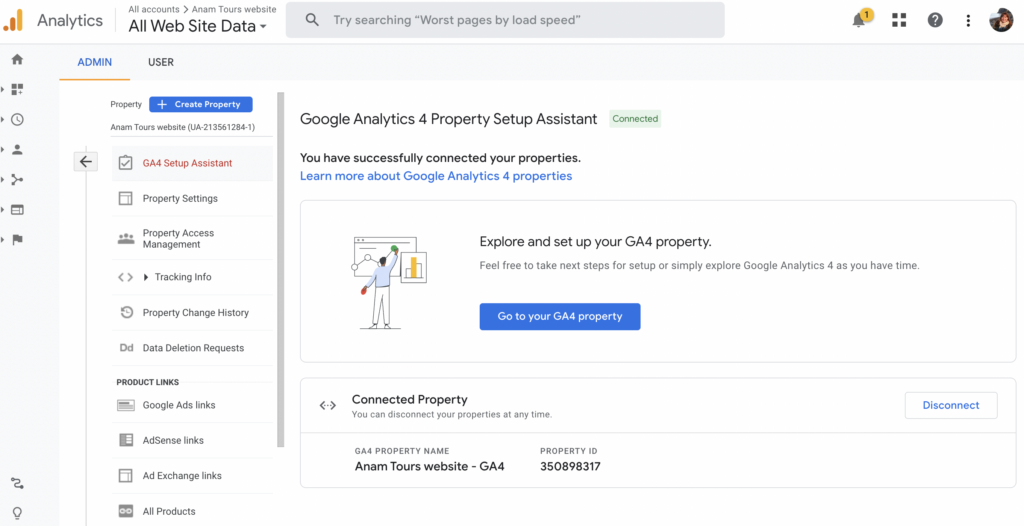
If you do not have an existing UA tag for the website in question or would prefer to start from scratch then select “Install a Google Tag” and then click “Next”.

Install the new GA4 tag on your website
If you have opted to use an existing UA tag as the basis of your GA4 tag then you will not need to do this step. If however you have opted to set up a new Google tag then you will need to install this on your website. There are two options here. Either you can install the tag using a website builder or CMS or you can install the tag manually. Which option you go for depends on how your website was built.
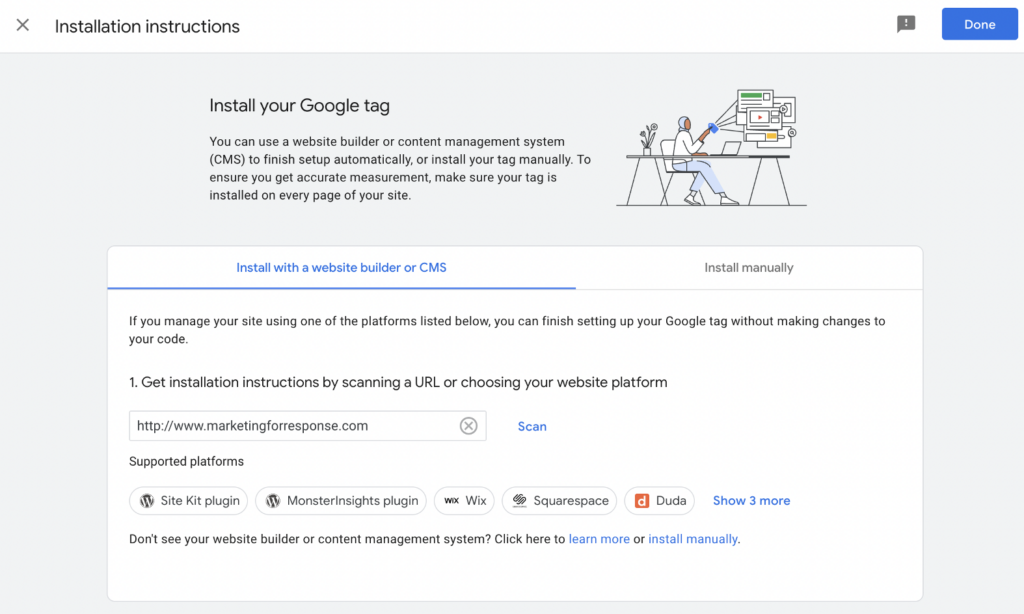
If your website was built using a content management system such as WordPress, Wix, Squarespace or Duda then you can use them to add the GA4 tracking code to your website. Alternatively you can install the code manually, for example if you have a hardcoded website. In the rest of this article we will take you through the process of installing the code on a WordPress site.
Get installation instructions by entering your URL.
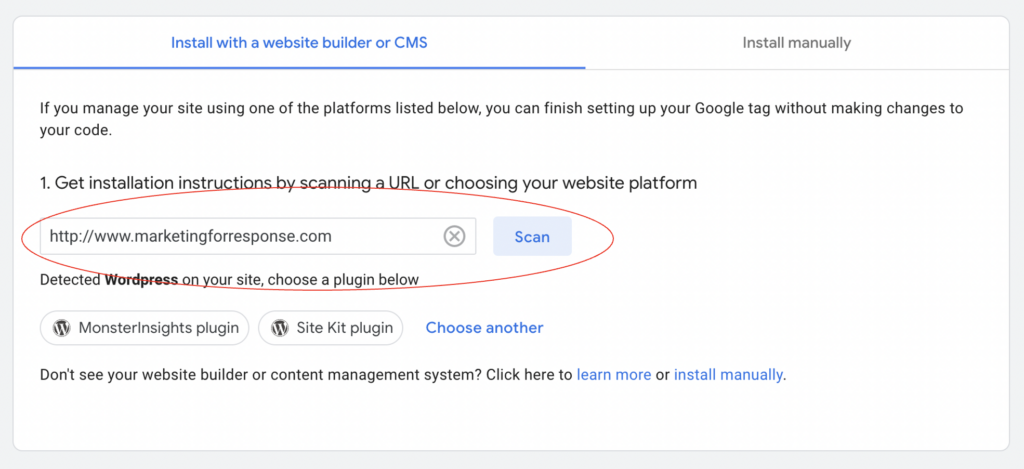
If you have the MonsterInsights plugin running on your WordPress site then you can use that to install the GA4 code. However for the purposes of this article we will assume that you are not running MonsterInsights and so will be using the Site Kit plugin. This is a plugin that has been developed by Google to enable you to quickly and easily link your Google Analytics to your website.
Using the Site Kit plugin to add the GA4 code to your site
The first step here is to go to your website and install the Google Site Kit plugin. Go to the “Plugins” section of your site and search for “Site Kit”. Once you’ve found the plugin click “Install”.
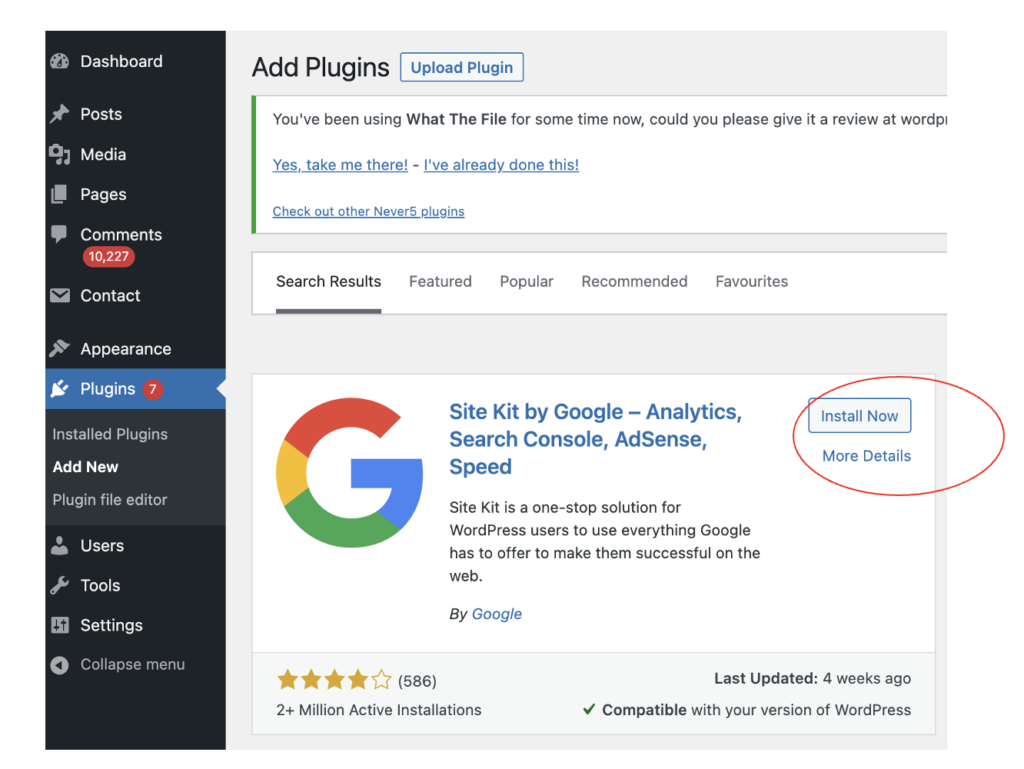
Once the plugin has installed you need to click “Activate” and then “Start setup” as per the screenshot below.

Tick the option to Connect Google Analytics as part of your set up. It is up to you if you would like to share anonymous usage data with Google or not. Click “Sign in with Google”.

Google will then ask you to sign in to your Google Analytics account and you will need to confirm that you are happy for Site Kit to access your account data. You should select all the options as shown in the screenshot below.

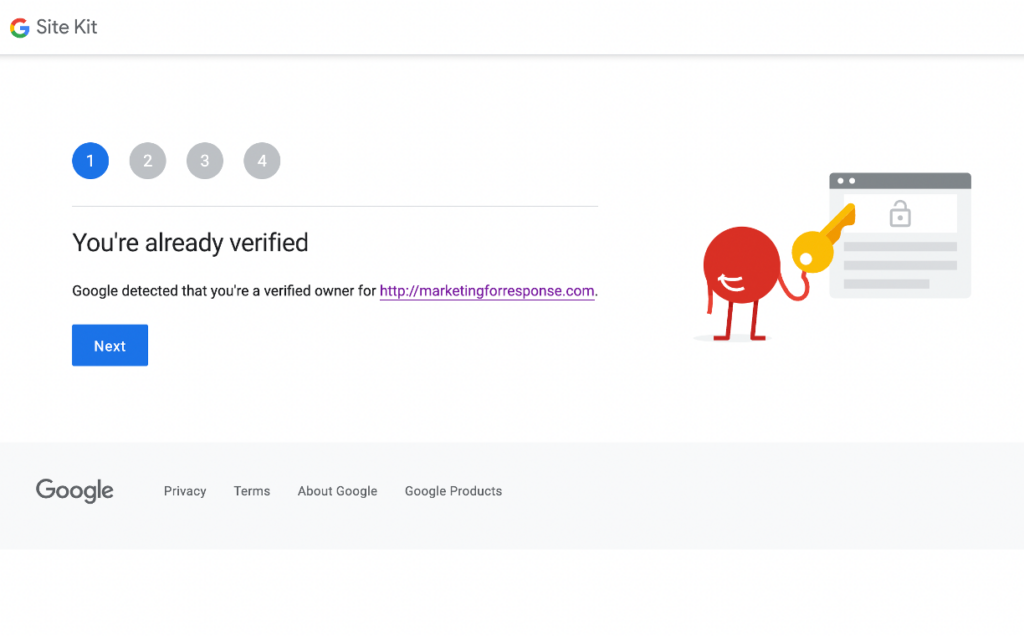
You may need to go through a step of verifying that you own the site concerned. More likely, however, if you already have access to the Google Analytics account, is that Google will do this automatically for you.
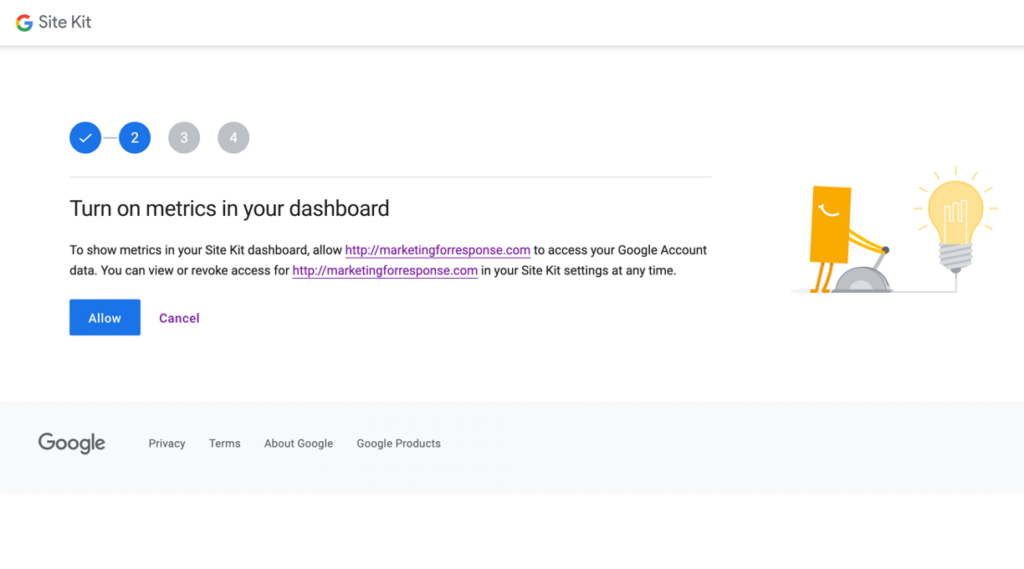
Select the option to turn on metrics, as per the screenshot below. This enables you to see key metrics from Google Analytics in the backend of your website without having to go to your Google Analytics account separately each time you want to view your data.
If you have a Search Console account for your website then you can also add that to the Site Kit plugin, as per the screenshot below. It may be that Google will do this automatically for you, as in the example below.

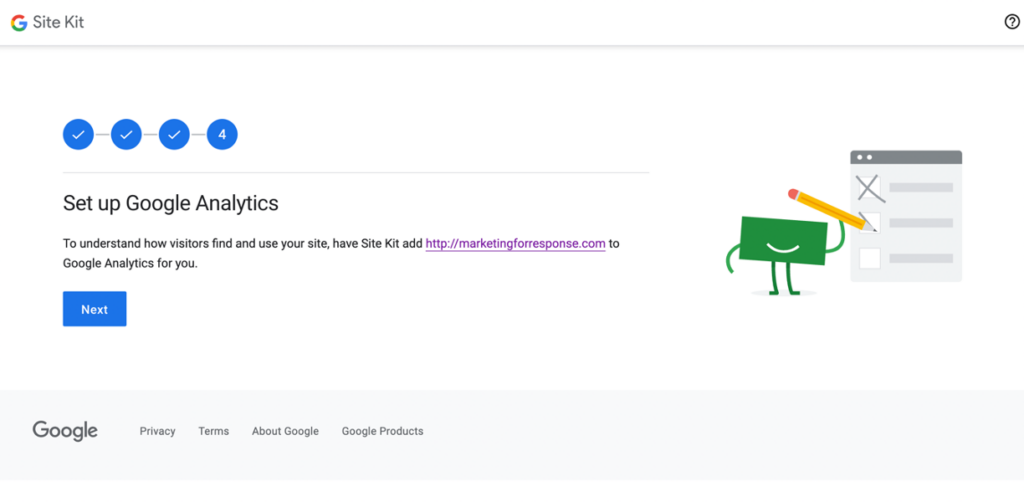
The final step is to have Site Kit add your website to Google Analytics, which happens automatically as per the screenshot below. Click “Next”.
This will take you back into the Site Kit interface, as you can see in the screenshot below. Click “Configure Analytics”.
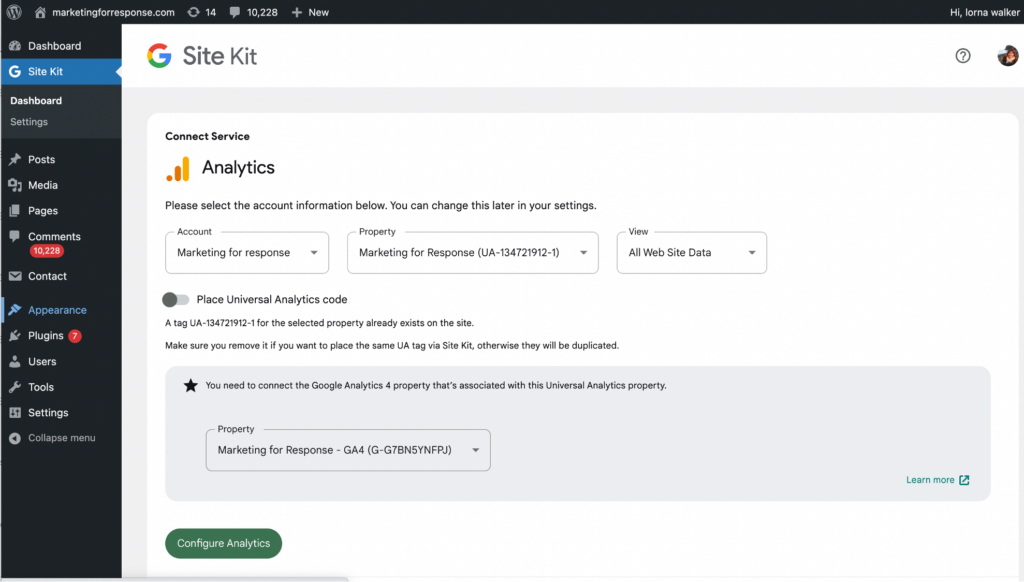
This completes the set up of the tracking tag on your website.
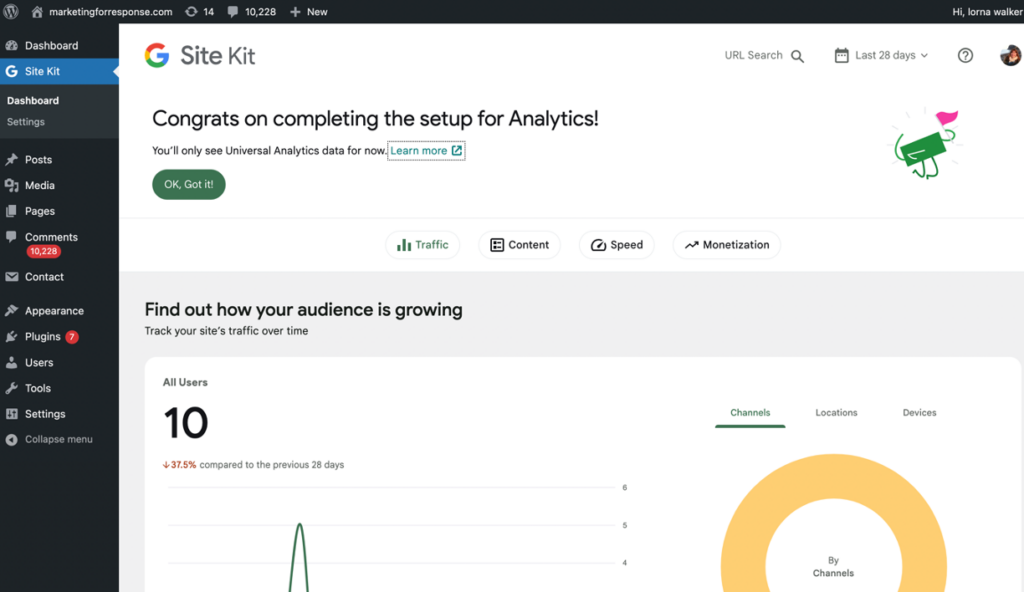
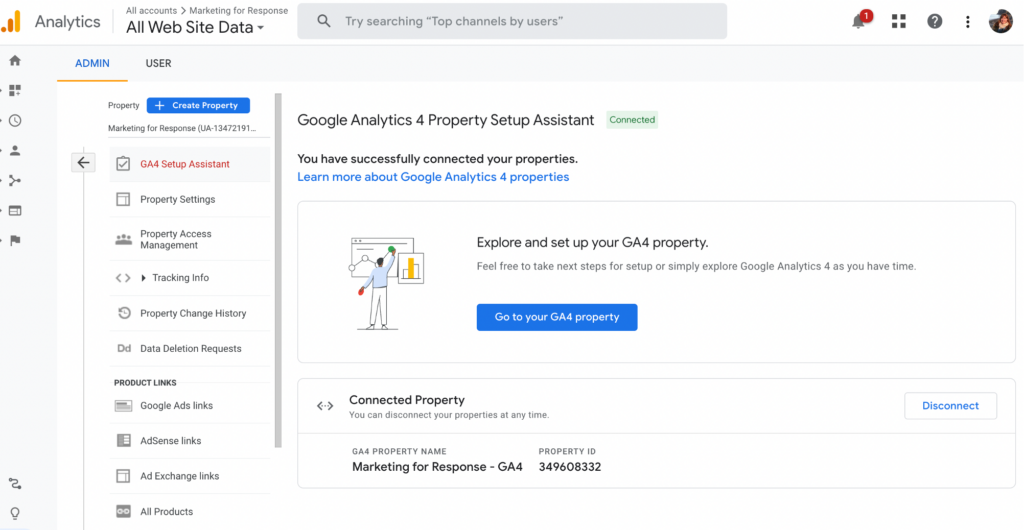
You should then go back to Google Analytics itself where you should see that your site has been correctly configured and that your properties are connected.
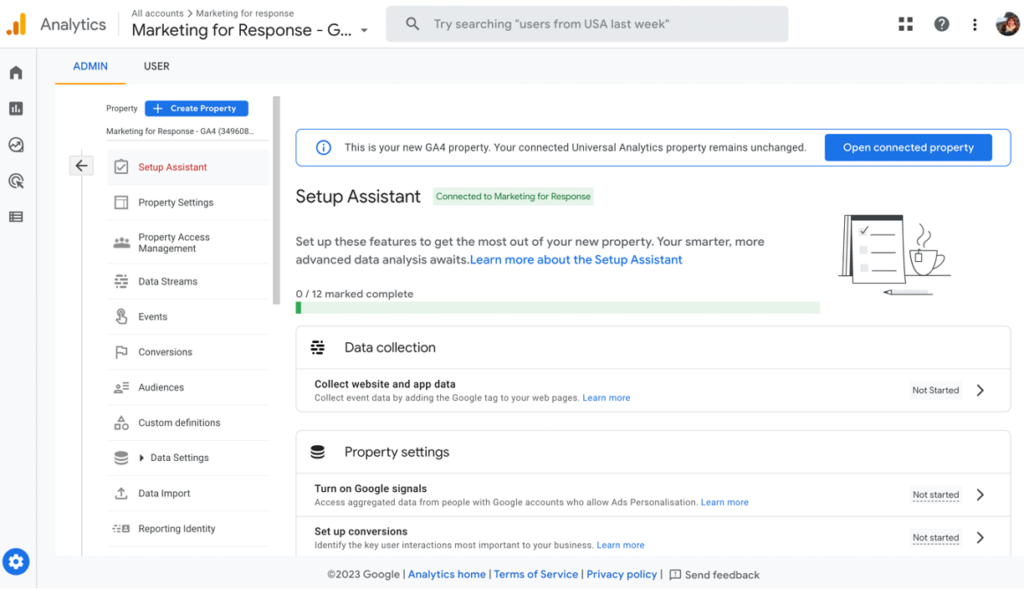
Configuring up your GA property within Google Analytics
You should now be in the Setup Assistant.
Next steps – how we can help you
If you would like to learn more about Google Analytics 4 then why not book onto our Introduction to Google Analytics 4 webinar. We can also provide one-to-one training in any aspect Google Analytics 4 for you or your organisation. Get in touch today to talk about the options.


